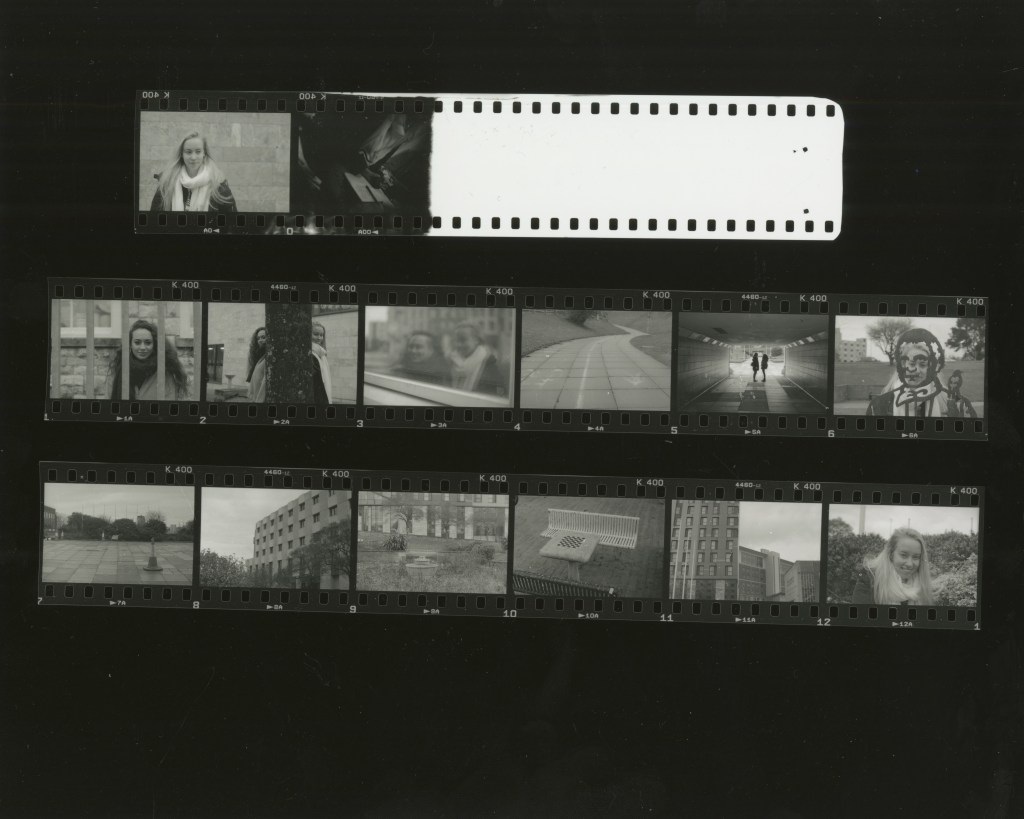
Before deciding on a photograph to enlarge and print it is necessary to print a contact sheet – a visual representation of the negatives.
To make a contact sheet, I placed a glass fronted contact frame centrally under the enlarger head. I raised the enlarger head to a height where the light just surrounds the glass. The red button was flipped up for constant light and the f-stop was set to brightest light. I focused the light so that there was a hard edge to it.
Then the timer was set to 5 seconds, the enlarger lens stopped 3 clicks down and the constant light switched off. I took a strip of photographic paper and put it with the emulsion side up on the frame, then placed a representative strip of negative on top and clipped the glass down.
To find the proper exposure time, I covered most of the test strip with cardboard and exposed for 5 seconds, then moved the card a little bit and repeated this process until the whole strip was exposed.
The test strip was processed and then taken to normal room light for inspection. After determining which area of the strip showed the best exposure, I knew what exposure time to use for the contact sheet.
To make the contact sheet, I set the timer to this specific number of seconds. I placed all the negatives from the roll of film in contact with a full sheet of photographic paper, pressed down the button for timed exposure, removed the paper and processed it.