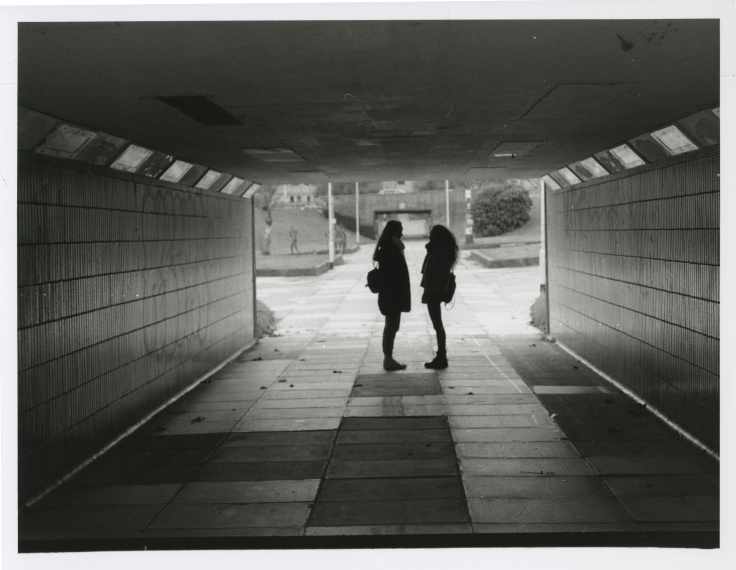
I consulted the contact sheet to decide which image I wanted to print as a photographic enlargement, which is way larger than the negative and made by projecting an enlarged image of the negative onto photographic paper.
The first step was setting up the enlarger: I selected a negative from the contact sheet to work with. I placed the negative emulsion side down on the empty negative carrier which I inserted into the enlarger head. I chose an #2.5 printing filter to put in the filter drawer (after consulting the first prints it is sometimes advisable to use weaker or stronger filters).
I changed the easel blades regarding to the photo paper size in order to get equal borders. Then the enlarger height was adjusted so that when the image is focused, it would fill the space between the blades. While doing so, I had the aperture of the lens set at its widest setting to get the brightest light. Afterwards, I used a grain focuser to insure the sharpest possible focus of the image. Once the image was focused, the aperture was stopped down again.
To expose the enlarged test strip, another piece of photographic paper was placed in the adjustable easel. I positioned it so that it would include highlight, midtone and shadow areas of the negative. Then I set the timer to 5 seconds and made a test strip by gradually uncovering the paper to longer exposure times.
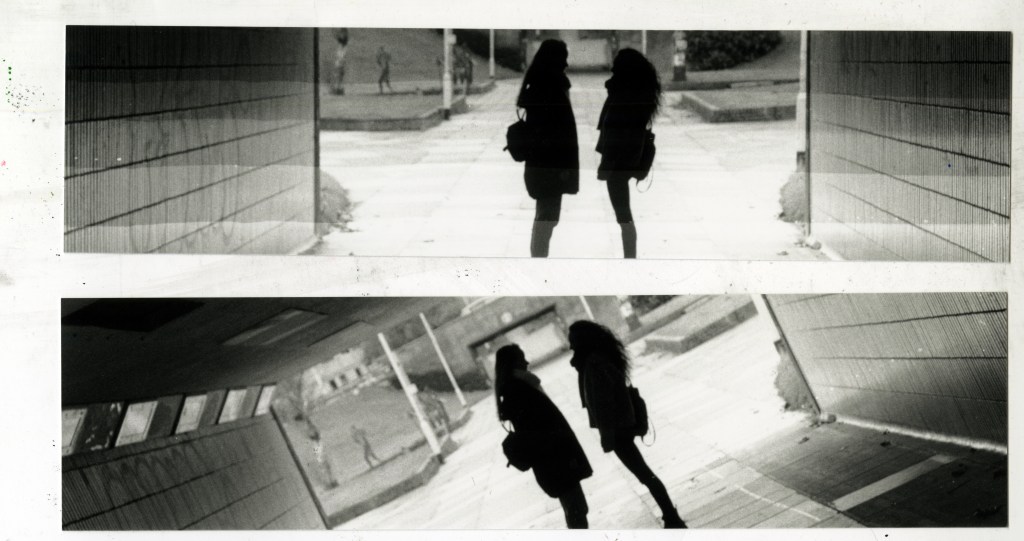
After processing it, I took the test strip and examined it in normal room light. I evaluated the progressive tones of the entire strip and chose the section which represents the sufficient exposure and density.
The final steps included experimenting with the exposure time and different filters until I was happy with the final print.