At the beginning of the animation workshop Stuart Moore showed us some inspirational videos that were the perfect introduction to the topic of the day: Doing stop-motion animation using the Dragon Frame software.
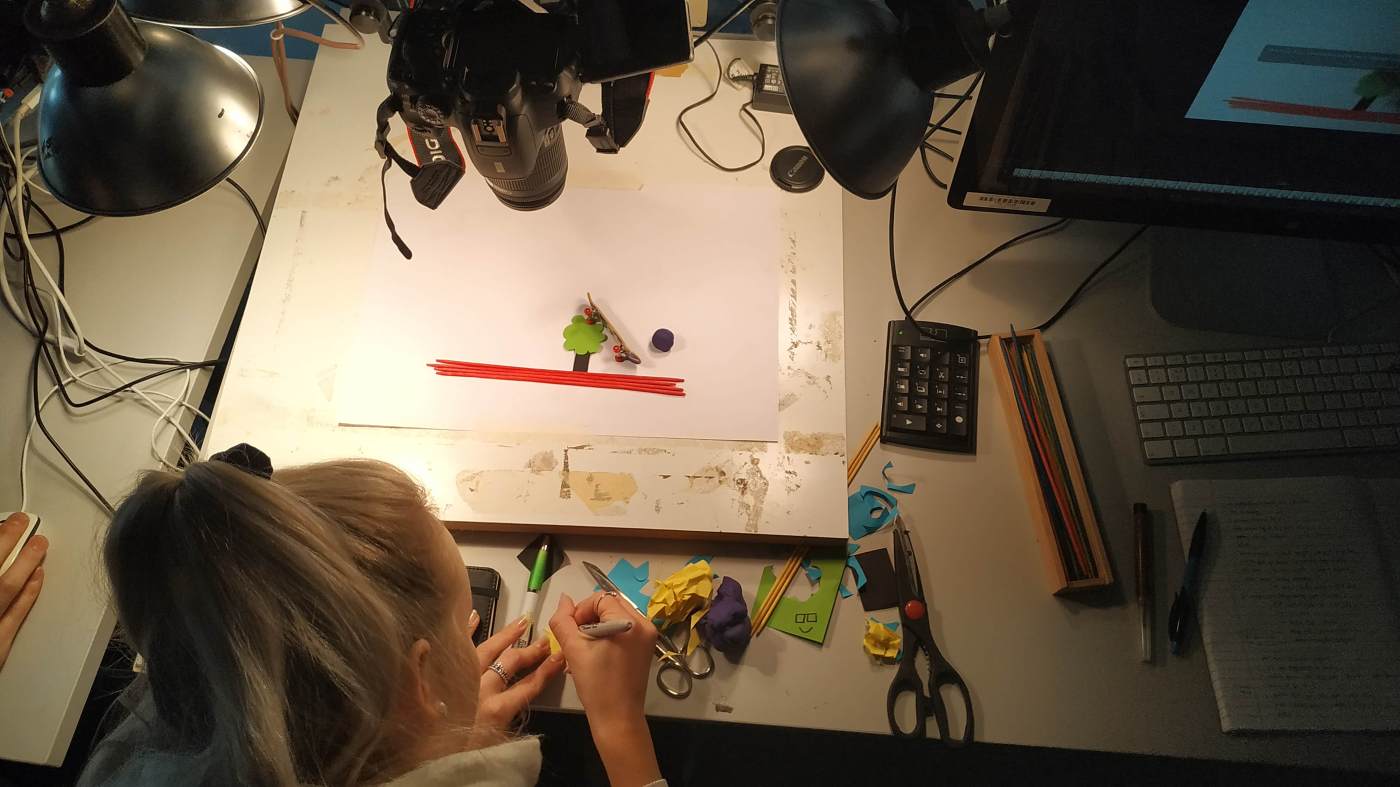
We were shooting our stills with a Canon 700D because it’s one of only a few cameras that can actually work with a power adapter. A power adapter is necessary for doing stop-motion animation: Working on it takes a while and it would be tedious to change the battery in the middle of the work flow. The camera is plugged into the power adapter, fixed on the tripod head and connected to the Mac. The direct link between the camera and computer ensures that we can use live-view to see the work of the camera. Moreover, the connection allows Dragon Frame to control the camera settings and to take the stills. We didn’t have to touch the camera at all, the keypad was all we needed to take the stills – this ensured that the camera stayed in place and was not shaken by the push of the shutter. The background of our animation was simple white paper that was fixed with masking tape.
Once we created a new project in Dragon Frame, we set the camera exposure to M and went into the Camera-mode in Dragon Frame to live-view our work. The camera was pointing down with its upper side towards us, so we had to rotate the orientation of the image. The camera was then adjusted to fill up the frame. We used the Camera-Mode in Dragon Frame to adjust the shutter speed (1/30 second), the aperture (middle of the focal range) and the ISO (100). We chose a neutral picture style, a large JPG image quality and manual white balance. After refining the focus using the focus check feature, we were ready to animate!
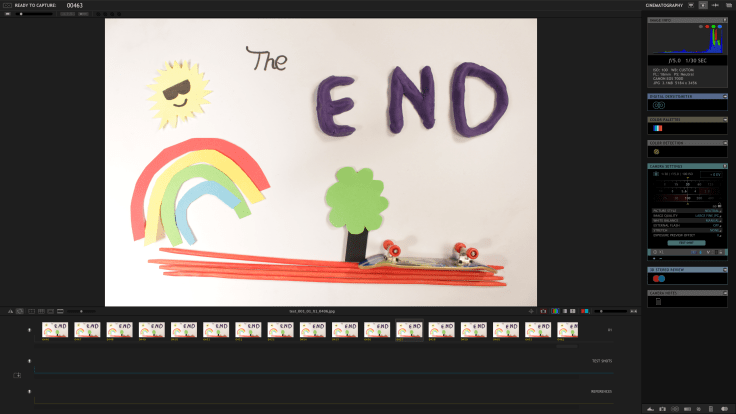
We created a short film including a finger skateboard, modelling clay and shapes made of paper. We positioned the objects and pressed CMD 3 to take three still images that instantly appeared in the timeline. We decided to take three frames per movement instead of just one or two. 24 movements in one second would create a smoother movement but would also take longer. Two or three frames taken per movement was simply quicker to animate so we decided to go with this choice.

Using a technique called “onion skinning” we were able to see the frames we had already recorded as a reference for the new frame and repositioned our objects to show slight movement. We stopped a lot and rewatched our short film to spot any mistakes and to assess whether we managed to show a smooth movement. We repeated this procedure until we were finished with our short clip. It was good that we were given so much time because it took a while to create our film with a total length of 19 seconds. I was aware of the fact we had to take 24 stills to fill up a second of film but was still surprised how long it took to finish our short clip.
We watched our results with the rest of the class and every group had come up with something amazing! I always like seeing the work of the other students, it’s a great source of inspiration! We didn’t receive much feedback, but I am still very content with our short film. I think we managed to create a short narrative and add some three-dimensionality through our little skateboard accident. I didn’t even mind so much that we had no sound in the film, even though that would have made it even better!
All in all, I enjoyed the animation workshop very much. It made me realise that while it takes a long time to readjust the objects and take the stills, there is software available that makes this task as easy as possible. In the beginning I was intimidated by the thought of taking hundreds of pictures and editing them together, but Dragon Frame was very easy to use (even for complete beginners like me) and left us with almost nothing to do. For me as a novice that was great help, because I could focus completely on the storyline of our clip and the movement of our objects. I would have liked an additional workshop to learn even more about the software and to try out some new compositions as I have hundreds of other ideas for stop-motion projects.
